Hi Everyone! During the last few days, I took some photos and happened to come across a few paintings that are far from perfect. They are, however, perfect examples of how letting go of perfection often provides a playground for learning and honing skills without pressure. I would love to share a few of these with you today, along with my approach.
Please click on the image thumbnails to see the photos –


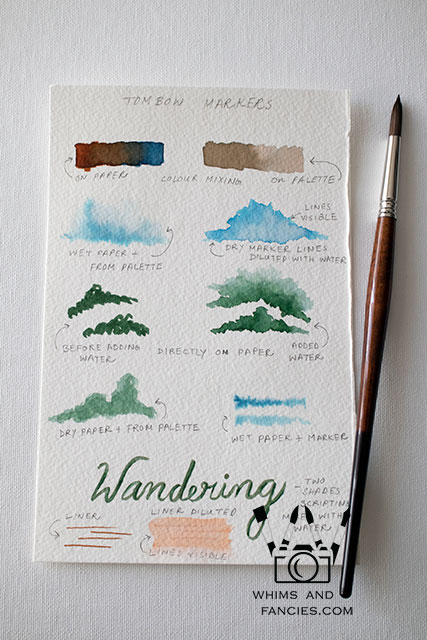
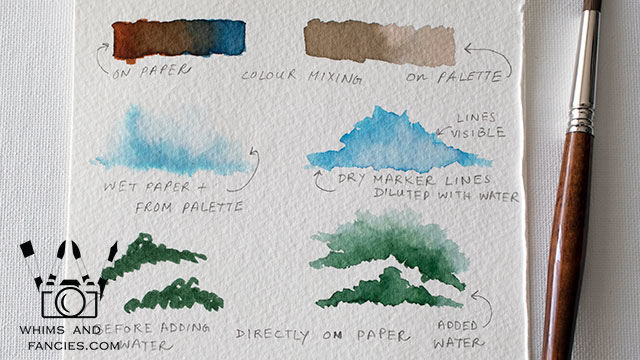
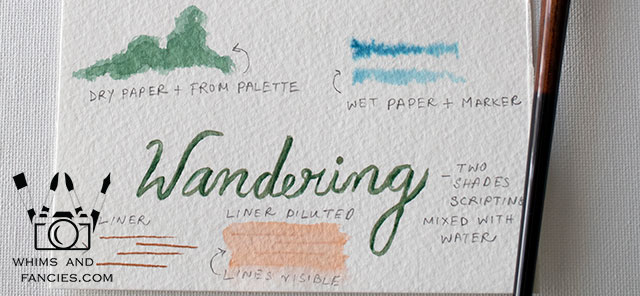
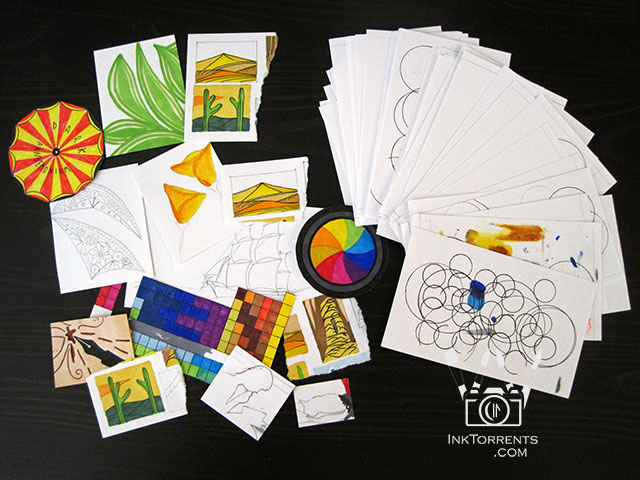
I always keep a stack of small pieces of inexpensive watercolor paper on my desk. I paint simple things on them whenever I need to warm up before working on something larger. I also use them to try out new art supplies. There is never any pressure with these practice pieces. These were just floating about, so one day I decided to put them all in a book.
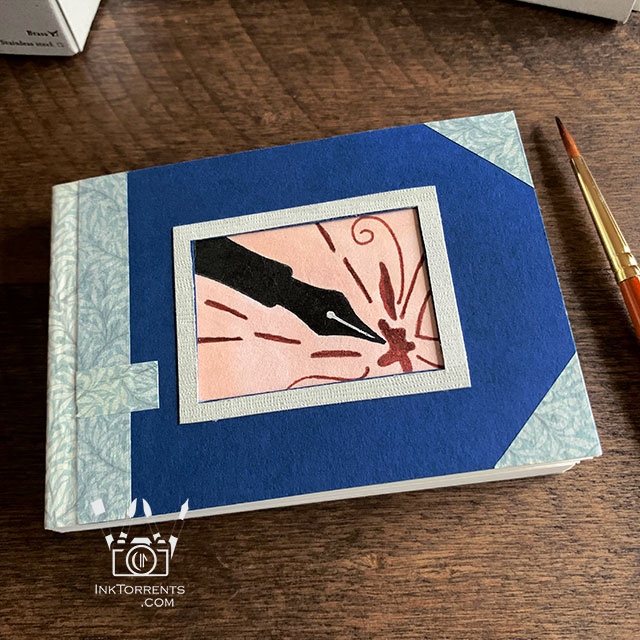
I keep cuttings from drawings that have not worked out. I pulled a tiny piece of pen drawing from that stack.
For the cover, I used washi tape and boards that were leftover from books that I had previously bound. I inset the little pen sketch in the middle and finished the book by making a grey frame from another piece of scrap paper. Improvising while creating this book let me hone some of my skills further. I need a place where I can play, and this book is the perfect playground.
I continued in the spirit of the experimental paintings that were already part of this book and painted these two next.
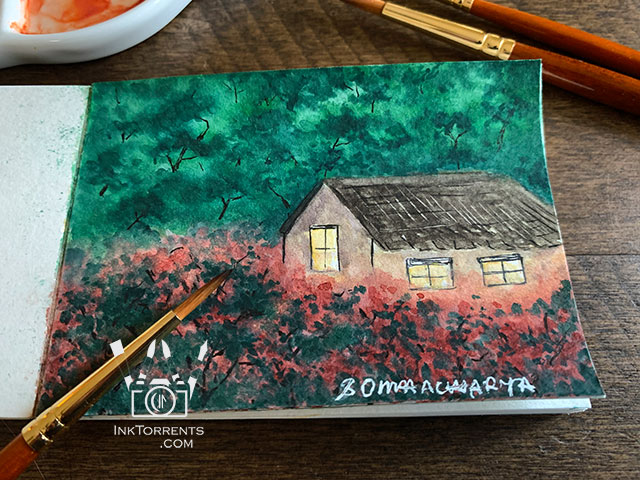
I love the idea of a cottage overgrown with shrubbery set by the edge of the woods. The green paint I was using for the forest dried much darker than I had anticipated. I put it aside and went to bed. I sometimes have trouble falling asleep, and that night happened to be one of those nights. Finally, I gave up on sleep, and started fiddling with it at 3:00AM.
I put a coat of titanium white on the area to cover up the dark green mess. As I started to paint the green back again, the white kept on diluting the green. So I changed my approach and daubed on the green in places instead of painting with brush strokes. It worked. I like the mix of light and dark in the green now.
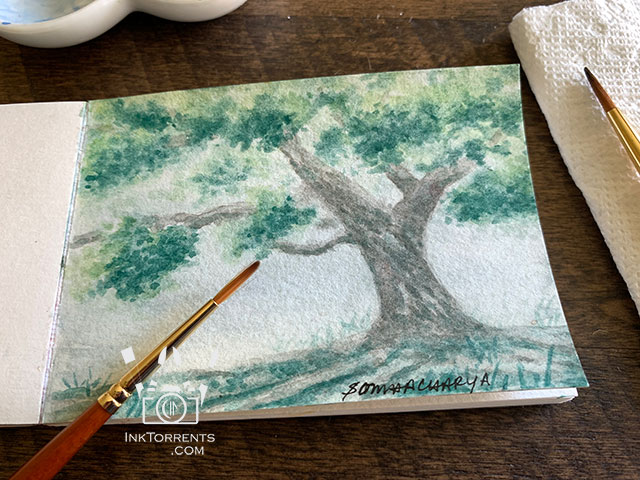
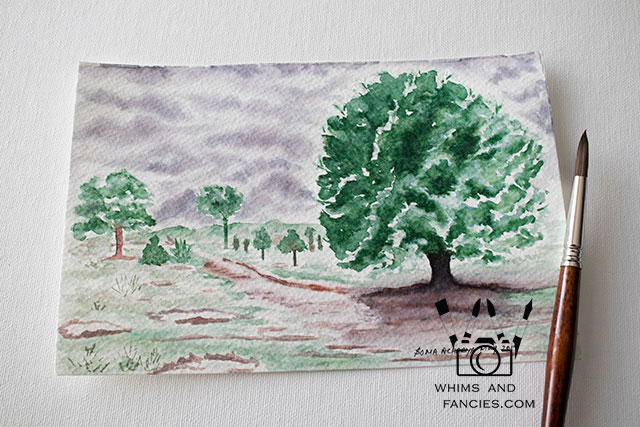
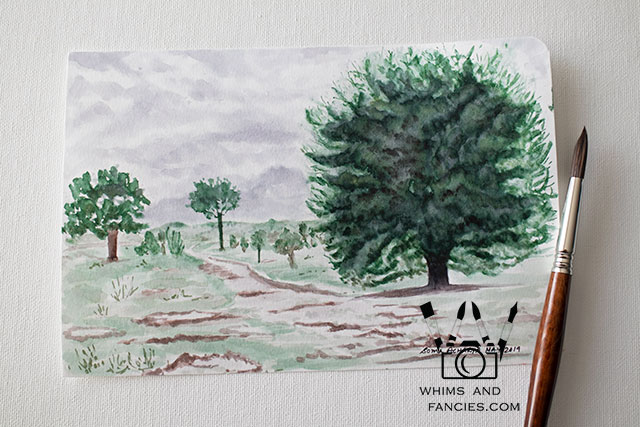
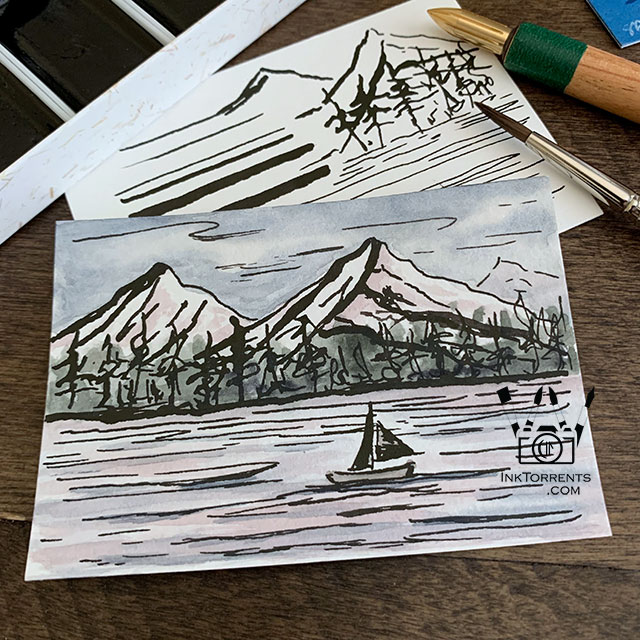
I wanted to learn a little more about this particular green paint that I mostly use for shadows. So I set out to paint a tree on a misty, rainy day.
The green paint is in every part of this painting. I added yellow and red to the green to create the other colors. This particular green paint is very textured and opaque. If I used even a smidge extra, the area looked very dirty and mucky.
I wet the paper first. As I added paint, I let the water on the paper pull or push the pigment around. That avoided the dirty look and kept the edges soft for a misty day look.
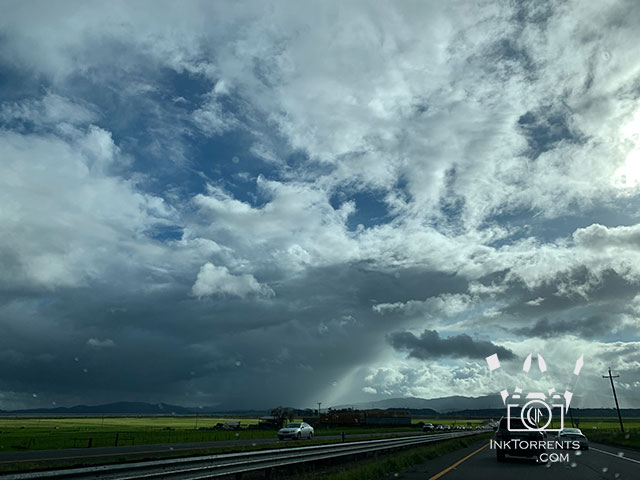
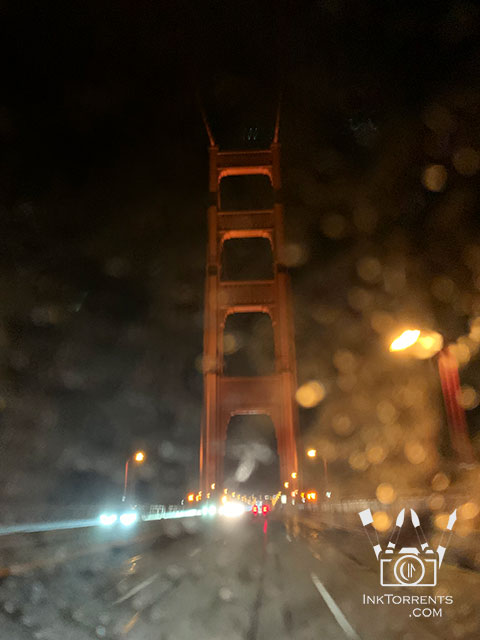
Last Saturday it was raining off and on. I love to be outside on days like this. While My husband and I were driving to Japantown in San Francisco, I took this photo from the car. Not a clean photo, but few raindrops on the windshield only added to the drama.
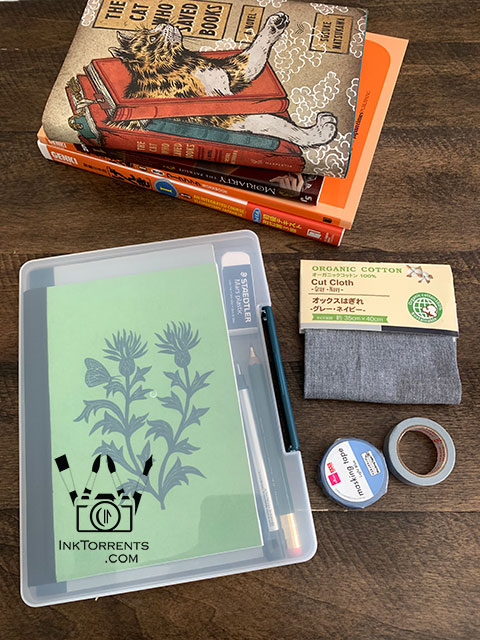
After browsing, getting a few books from my favorite book shop, and having dinner at the most wonderful udon noodle restaurant, we went to a Japanese convenience store to pick up our favourite snacks and drinks. I always find something there for my journals and this time I got this A5 size case. A wonderful fit for my sketchbooks, plus a couple of pencils and erasers for traveling. Sometimes things just work out!
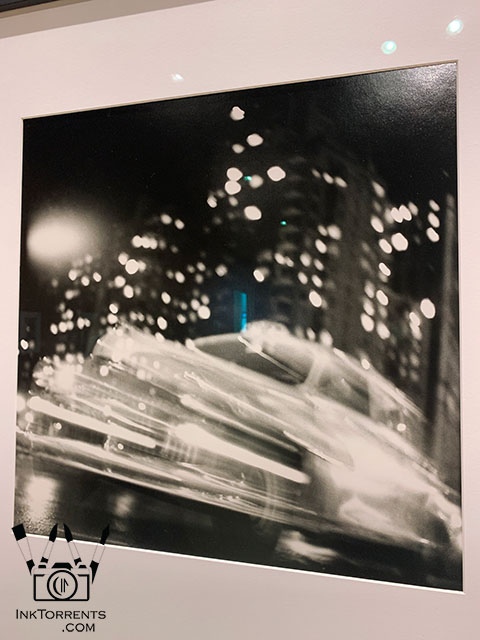
Back at Bowers Museum, I was completely smitten by Ted Croner’s Taxi, New York at night photo. If you are interested, you can read more about him on this Howard Greenberg Gallery page.
Inspired by Ted Croner’s Taxi, New York at night photo
On the way back, as we were driving on the Golden Gate Bridge, rain started to fall. I asked my husband if he could hold off running the wipers, and quickly snapped this photo of the bridge through a rain-spattered windshield. Not quite as brilliant as Ted Croner’s photo, but it will do for now.
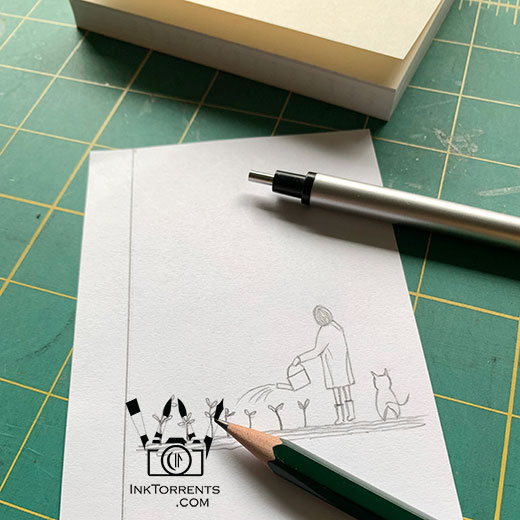
Work in progress teaser: The girl is watering while her little cat patiently…
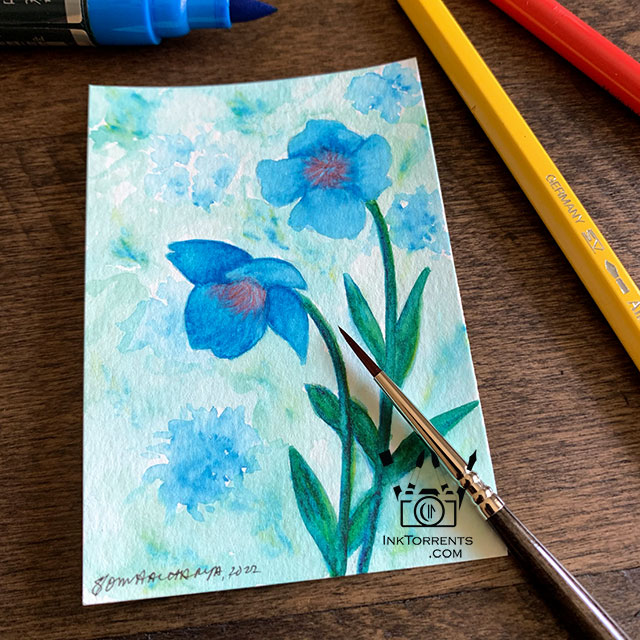
I have been doing a lot of book binding lately, experimenting with new techniques and materials. I had just started sketching a cover for an experimental book when I noticed two tiny 1.5”/2.0” scraps on the desk.
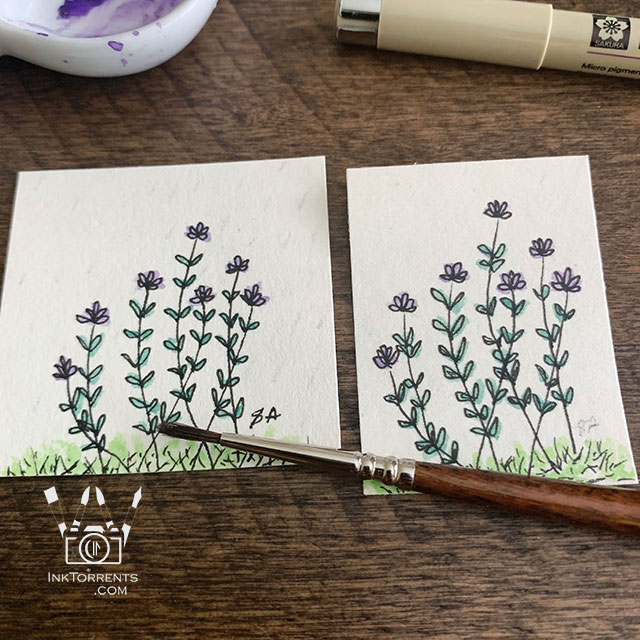
I couldn’t resist painting these little flowers on them. I painted them completely outside the lines quite intentionally. Hubby already claimed one of them, so we will each have one for our journals.
I really hope this gives you some ideas and encourages you to play and make. There is sweetness and joy in imperfection.
Until next time,
-Soma
I am linking up with the linky parties on my Events And Links page. Please consider paying a visit to some of them.
Leave a comment