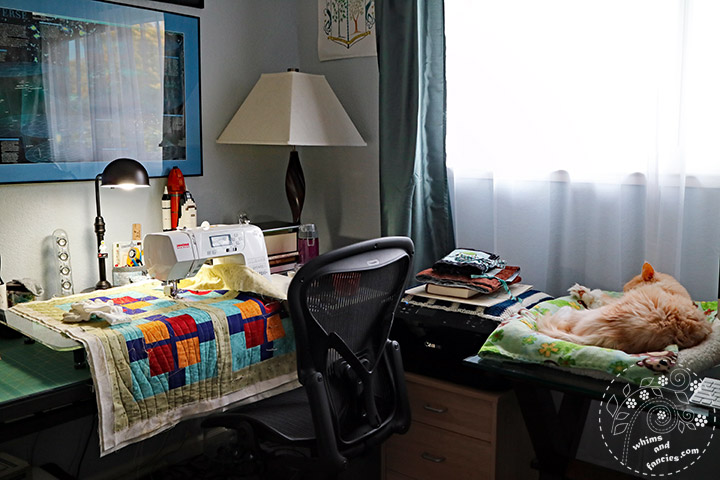
With the approach of October, one of my favourite months, I find myself in the flightiest of moods. Sitting with anything for long is a chore and the thought of finishing anything seems an impossible task. My otherwise tidy desk is now a mirror image of my brain. This is true except for one thing- books! A book is the only thing that can still pin me down for hours on end.
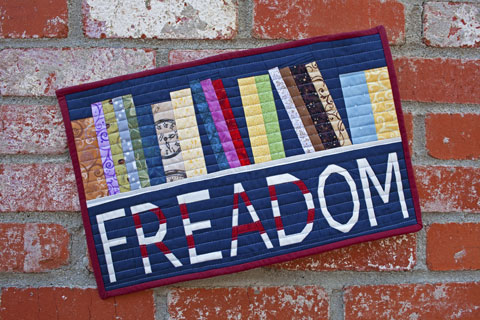
This week is Banned Books Week, an event sponsored by the American Library Association. I am lucky enough to celebrate my freedom to read and think independently every day. This FREADOM quilt I made last year is possibly my most favourite piece! You can read about the story behind this mini here.
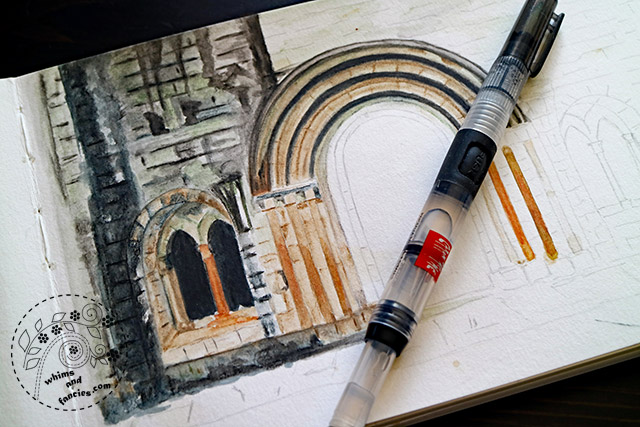
Other than travelling in the pages of my books, I also travel by means of painting places I have visited before. I love Derwent pencils. I already have a set of their Inktense pencils and recently I was gifted a set of the Derwent Watercolour pencils. I am trying them out on this sketch of Dryburgh Abbey.
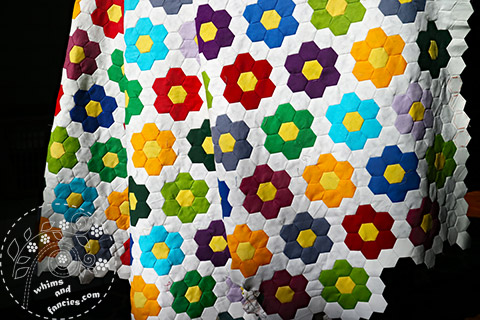
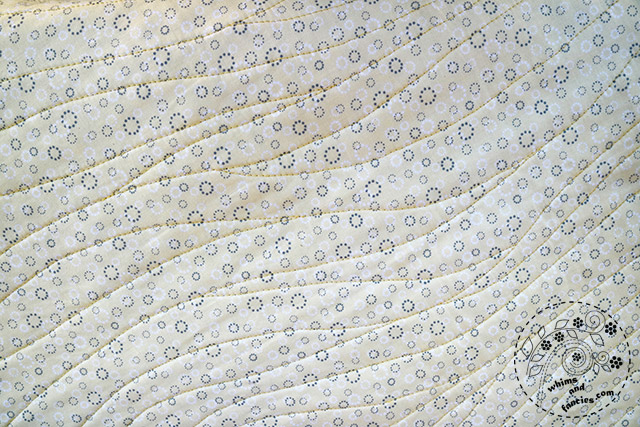
I pulled out my Hexagon quilt again. After having made a little over 2000 hexagons, sadly, I have lost interest in this project. I will probably sew a few more rows and then come up with a design sans hexagons to finish this quilt. Any ideas, anyone?
October of course means Autumn and Halloween. I have been selling quite a few Fall/Halloween quilt patterns from my shops. That means very soon I will be able to make a sizeable donation to my favourite charity.
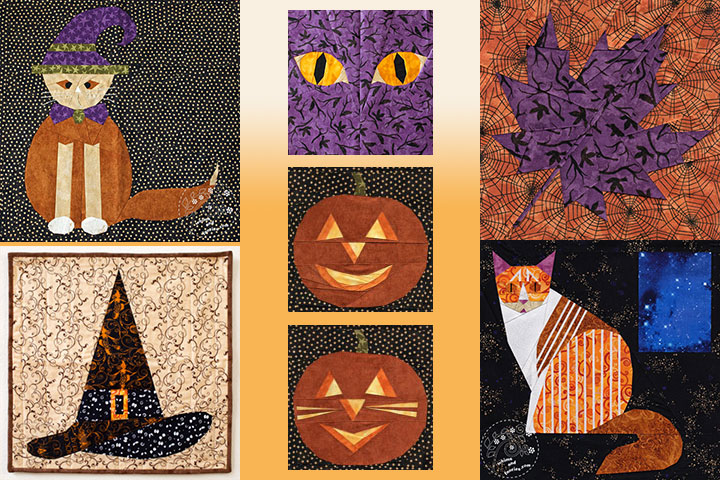
Here is a collage of all the Autumn / Halloween blocks I made until today. I have two orange kitties in real life, and they are both here of course!
I always get asked about pattern links right after I publish a post, so I am including the links here should you like to purchase any.
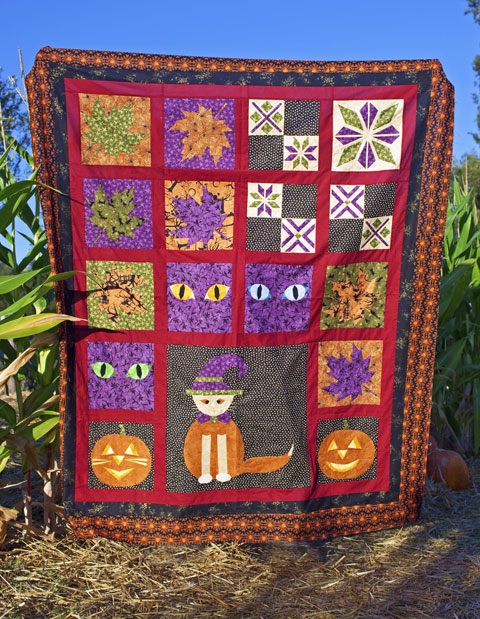
There won’t be any new fall or Halloween projects this year, but I have pulled out the Charlie’s Adventure quilt and its backing fabric. I made this one for the Black Cat Crossing blog hop alongside writing a short story that goes with this quilt. You can read the story here. It’s high time I quilt this one.

Janine from Rainbow Hare wrote a wonderful post called Leap In Colour. I myself have been thinking about taking a leap for a while now, and her post gave me that much-needed push. Many thanks to all of my online friends as well for their constant encouraging comments. I started taking the first steps toward the next phase of Whims And Fancies. Following on Janine’s footsteps, I am also letting my byline be my inspiration.
On the note of taking a leap, I just created a Twitter account – https://twitter.com/inktorrents
If you are on Twitter, I would love for you to follow me there!

Joining Handmade Halloween at Needle And Foot
Thank you for listening,
-Soma
I am also linking up on Photo Friday, Life Thru The Lens, Through My Lens, Seasons, Our World Tuesday and Friday Photo Journal along with with other linky parties on my Events And Links page.
Leave a comment