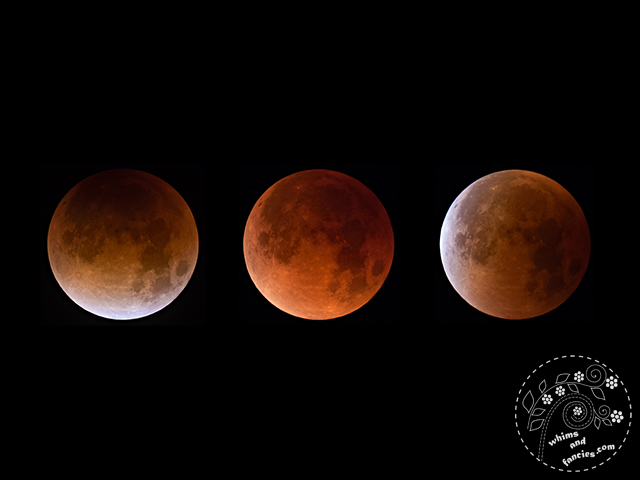
Last Wednesday morning I was up around 3:30 AM to view the lunar eclipse. I was mostly outside until the total eclipse finished, shortly after 6:00 AM. After being in the crisp, cold morning air for so long, I was too awake to go back to bed. My husband was up with me. So once the first rays of daylight started showing across the eastern sky, we put our hiking boots on and hit the trail.
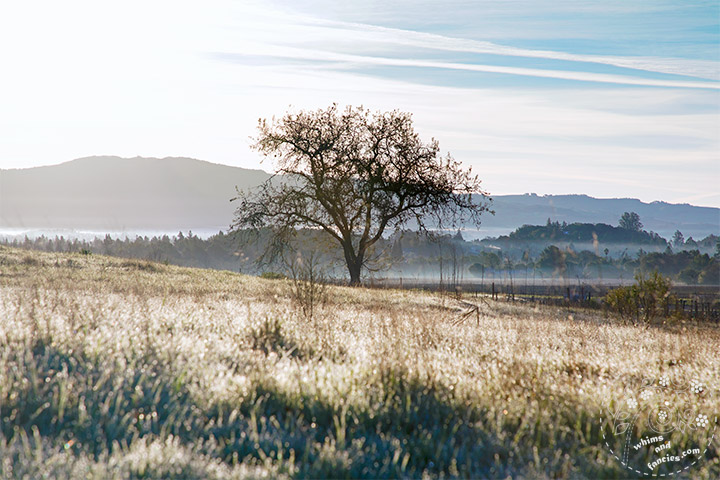
The frosty ground was lazily lit up by the morning sun, turning it dazzling white. As the frost slowly melted, the ground was filled with myriad sparkling diamond-bright water droplets.
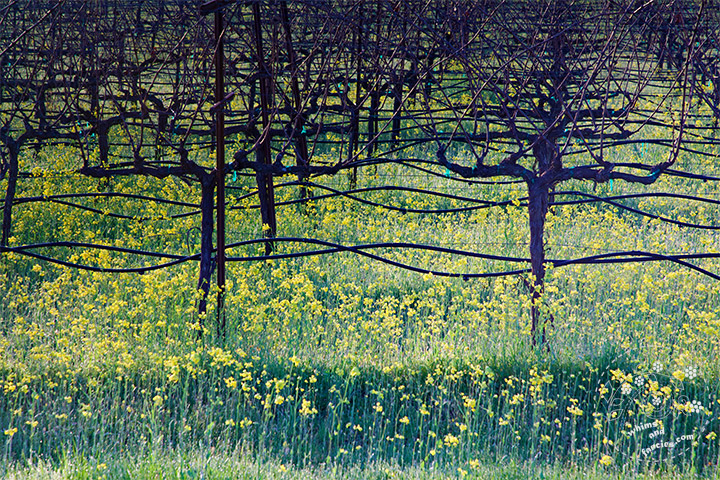
The yellow mustard flowers were peeking through the bare grape vines.

It was cold, so I got to wear my new mitts. I made them using the Menelaos pattern. The pattern has the design only on the back side of the hand, but I wrapped the design around on the palm side as well. I used my own thumb technique too. The pattern is very easy to follow and makes very cosy mitts.
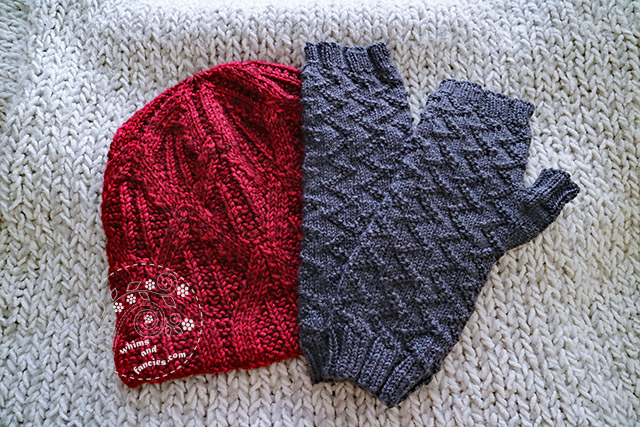
My husband quite often drops by the local yarn store to pick up small surprises for me. I made the Paragon Toque with the red yarn that he got for me, but there wasn’t enough to make a set of matching mitts. He and the proprietor of the shop picked out the grey yarn for me. I was a little sceptical at first, but I love the set now. They kept me warm all throughout the hike.
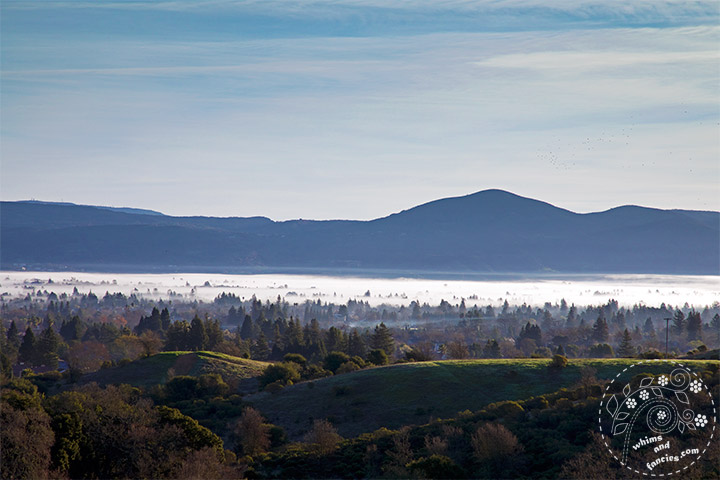
The valley was filled with morning fog, looking like a white sea. This is the turning point of our hike. Needless to say, we were extremely tired from waking up that early and after such a long hike, but…what a view!! I love our local parks!
-Soma
Related Links –
Photos of the January 2018 Lunar Eclipse
Paragon Toque Pattern
Menelaos Mitts Pattern
I am linking up with the linky parties on my Events And Links page. Please pay a visit to some of them.
Leave a comment