Welcome to the March edition of the Wandering Camera linky party. We had a great start in February with so many of you linking up and visiting each other, thank you so much! It was a lot of fun seeing your photos and reading about them.
February tossed me a few hurdles. I got badly sick from the flu and couldn’t go outside for a while. A couple of days later my husband got sick too. We also had to visit the vet a few times for the kitties. One of them is spending this week at the hospital.
I found solace in long walks, and in taking photos to find little joys here and there looking through my lens. So here are my photos from the month of February. They are in chronological order, 1st – 29th of February.

1. I love the velvety texture of sage
2. New silvery treasure from the kitchen store
3. Warming up after a long walk in the rain
4. Hiking at sunset
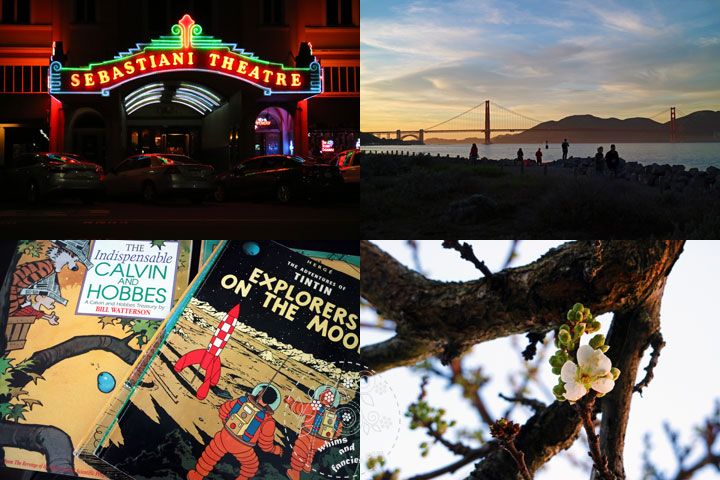
5. Old theatre in Sonoma
6. Sunset at Golden Gate Bridge, San Francisco
7. Comforted by old friends while sick in bed
8. Sneaked out to the backyard for a little bit

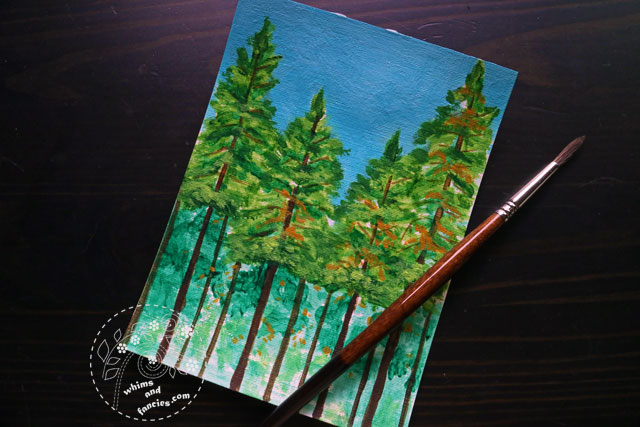
9. Bringing the outdoors to me by painting the Sierra trees in acrylic
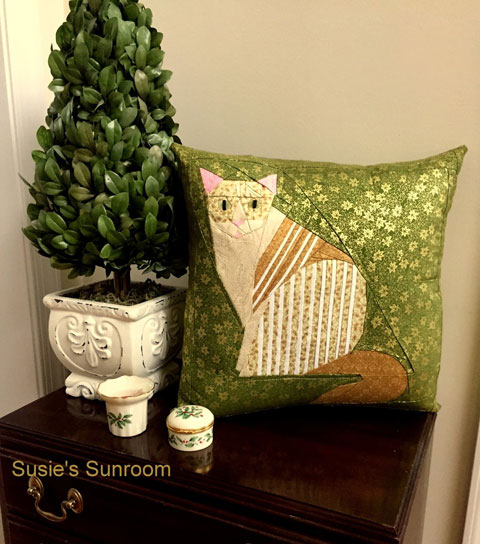
10. Charlie soaking in the sun
11. All the buds bursting into bloom within just a couple of days
12. Enjoying the first evening out of the house

13. Earthquake-damaged old post office – it will probably be demolished
14. Another beautiful building in Napa – also quake-damaged
15. The purple house by our favourite cafe
16. White flowers and blue skies

17. Pensive Montague
18. Treasuring my new watercolour paints
19. A wee dram
20. Setting sunlight coloured these flowers a vibrant red

21. Art gallery
22. Moonrise
23. Not snow but flower-flakes
24. Late afternoon walk at a local Park

25. A beautifully restored Victorian house
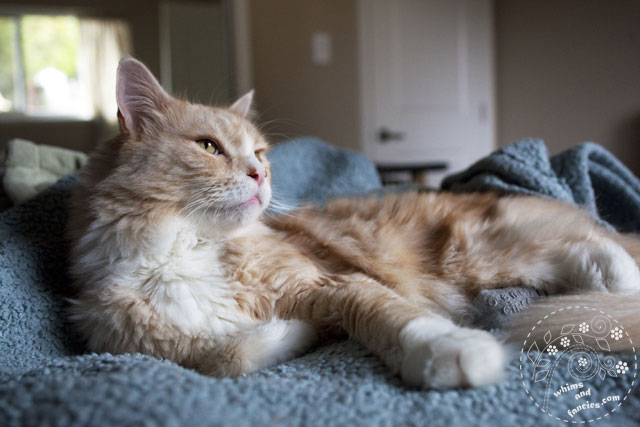
26. Showing off his orange fur
27. My first Madeleines
28. Delighted at spotting wild iris during a hike

29. Distracting myself by writing notes on possible future travel destinations after leaving Monty at the hospital
I am using a newly-acquired camera for these photos. It behaves very differently from my other camera which is of much better quality. I am learning a lot about the new camera as I continue to take these photos. One of the settings I love to play with is ISO.
ISO Setting
In February I talked about different kinds of light. Cameras will always do really well in well-lit settings, but the automatic settings do not always work in low light. The ISO setting of your camera is great for those situations. ISO values can be set on most cameras, including some point-and-shoot cameras.
You can change the light sensitivity of your camera by changing the ISO . Light sensitivity means the amount of light needed for a well-exposed photo.
ISO And Shutter Speed
Lower ISO requires more light. Under bright light you can take a photo quite easily using a fast shutter speed and a low ISO. With the same ISO and less available light you will need to use a longer shutter speed for a photo. That is quite impossible without a stand and may not be desirable for a moving subject.
Pro – Higher ISO = Faster Shutter Speed
Similarly, higher ISO is more light sensitive, therefore needs less light for a good exposure. So a higher ISO value enables you to use a faster shutter speed. Using a combination of higher ISO and faster shutter speed, you can take that elusive photo in low light.
Con – Higher ISO = More Noise
Then why not use a high ISO all the time? There is a caveat. The higher the ISO number is, the more noise or grain your photos are going to have. That means photos are not going to look smooth at higher ISO numbers. How noisy it is going to be is completely dependent on the camera. In automatic mode, your camera sets the ISO for you. If you want finer control over shutter speed or noise level, you want to set the ISO yourself.
My usual ISO settings
I usually use 100 – 200 on clear, sunny days. I go up to 400 on cloudy days, early mornings and late afternoon hours. From 800 onward, it completely depends on the camera I am using. On a couple of my cameras I can go up to 1600 or 3200 without adding much noise. On my point-and-shoot camera, anything over 800 causes so much noise that I don’t like using it for most photos.
That must-have photo
If, however, the option is getting a photo vs. not, then you want to go ahead and use that higher ISO to get a faster shutter speed. That way the photo might be grainy, but it will be in focus.
The best thing to do is play with different ISO settings at different light conditions. One last note – Always set the value back to your usual ISO once you are done taking photos in those exception situations. That way, the next time you use your camera, you won’t end up taking a bunch of photos with the wrong ISO value by mistake. I usually keep mine at 400.
I hope this encourages you to learn your camera a little more this month.
Now it’s your turn to share your photo posts. I always look forward to seeing them. Every photo is special because it suspends a moment and everyone sees the world around us differently! So don’t compare and contrast, just have fun and see the world that only your eyes can see!
Badge to share on your post and website

You can add any number of links to your posts from the previous month. The posts should have photos in them, with a story or anecdote. Your project photos (quilting, sewing, painting, knitting, etc.) are most welcome. You can also write a new post to link up. Please do not link up posts that are older than the previous month, they will be removed.
Please make sure to include the badge or a text link back to this site on each post that you link up. You can also add the badge to your blog. I am happy either way as long as you link back :-)
Spread a little encouragement amongst each other.
I will leave the link-up open for a whole week.
Wandering Camera is a monthly event that will run on the first Thursday of every month. The next post and link-up will be on the 7th of April. If you follow me via email, bloglovin or facebook, you will get a reminder.
Have fun!!
-Soma
Leave a comment